
Free on-site gate assessment - hinges, posts, and your LiftMaster or Nice gate operator checked before anything is quoted
The assessment is free and the quote is the invoice.
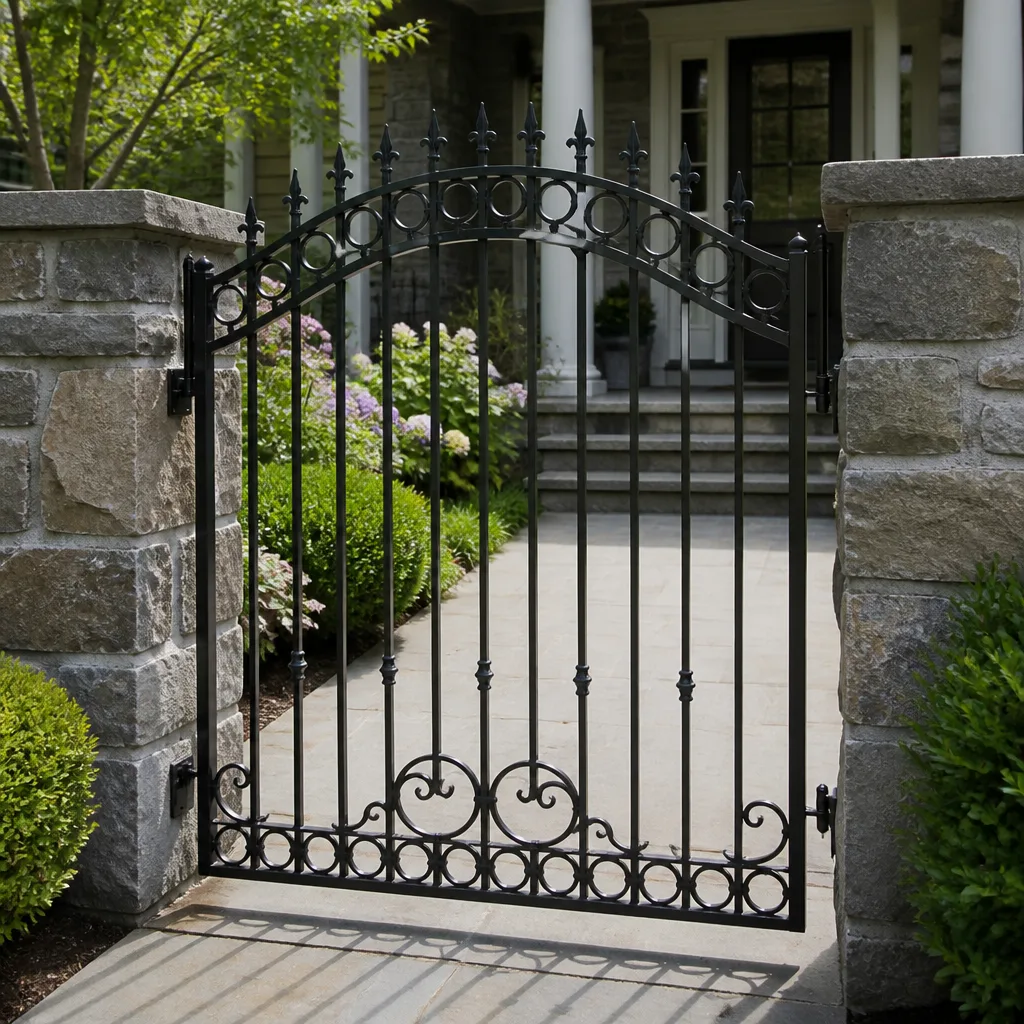
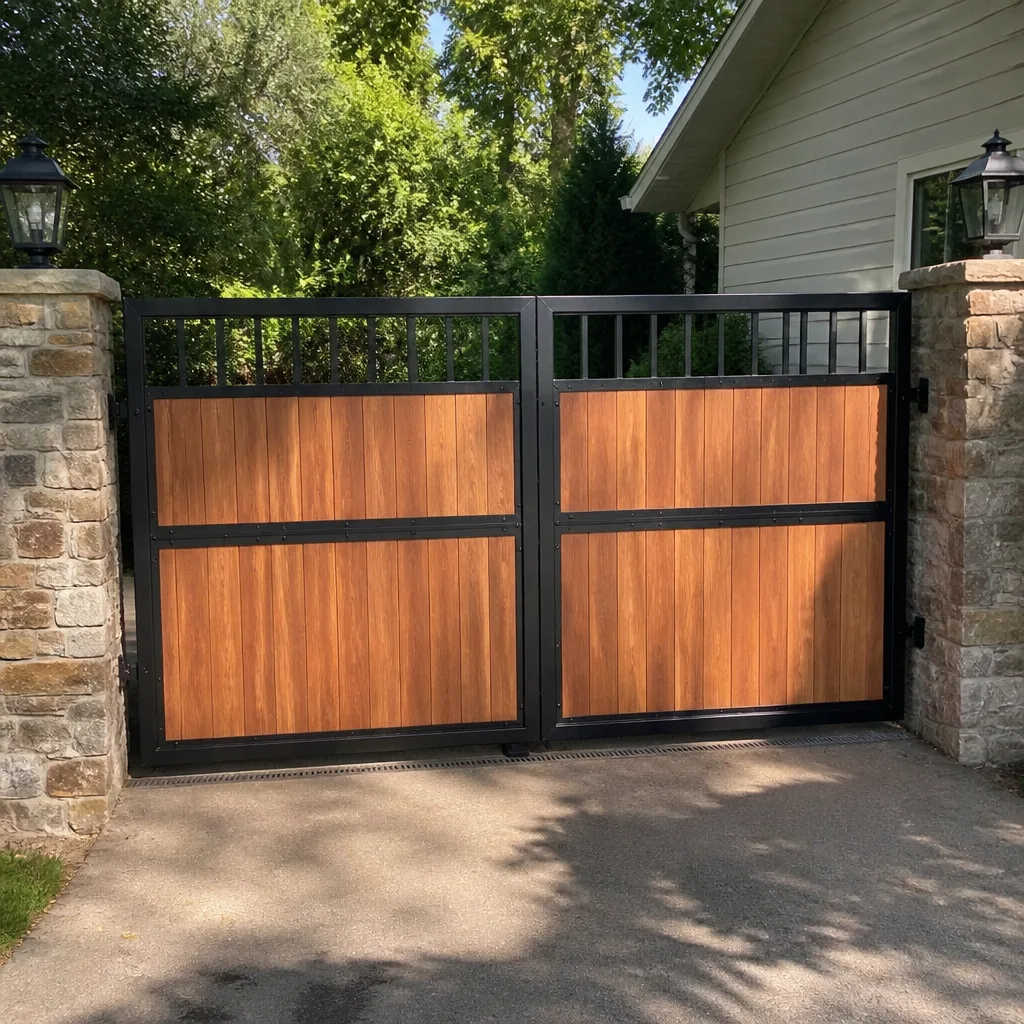
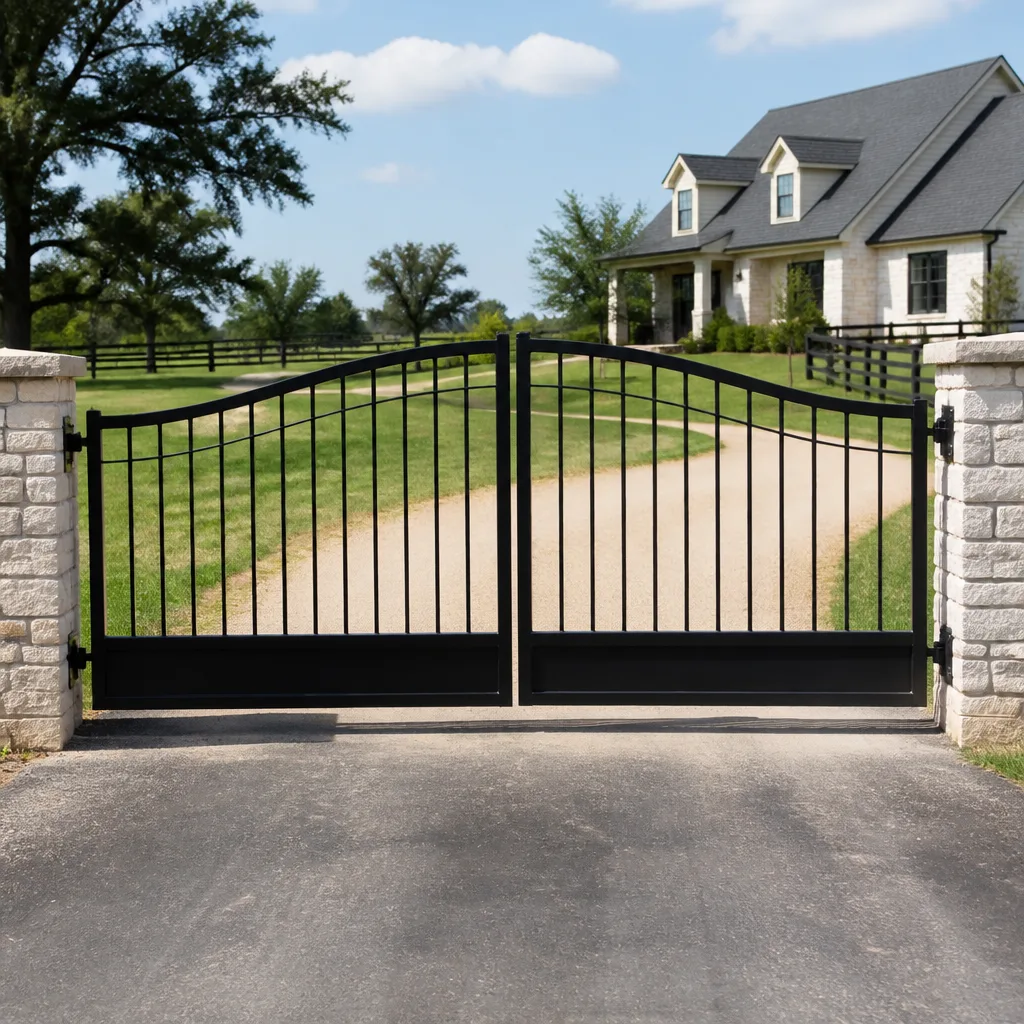
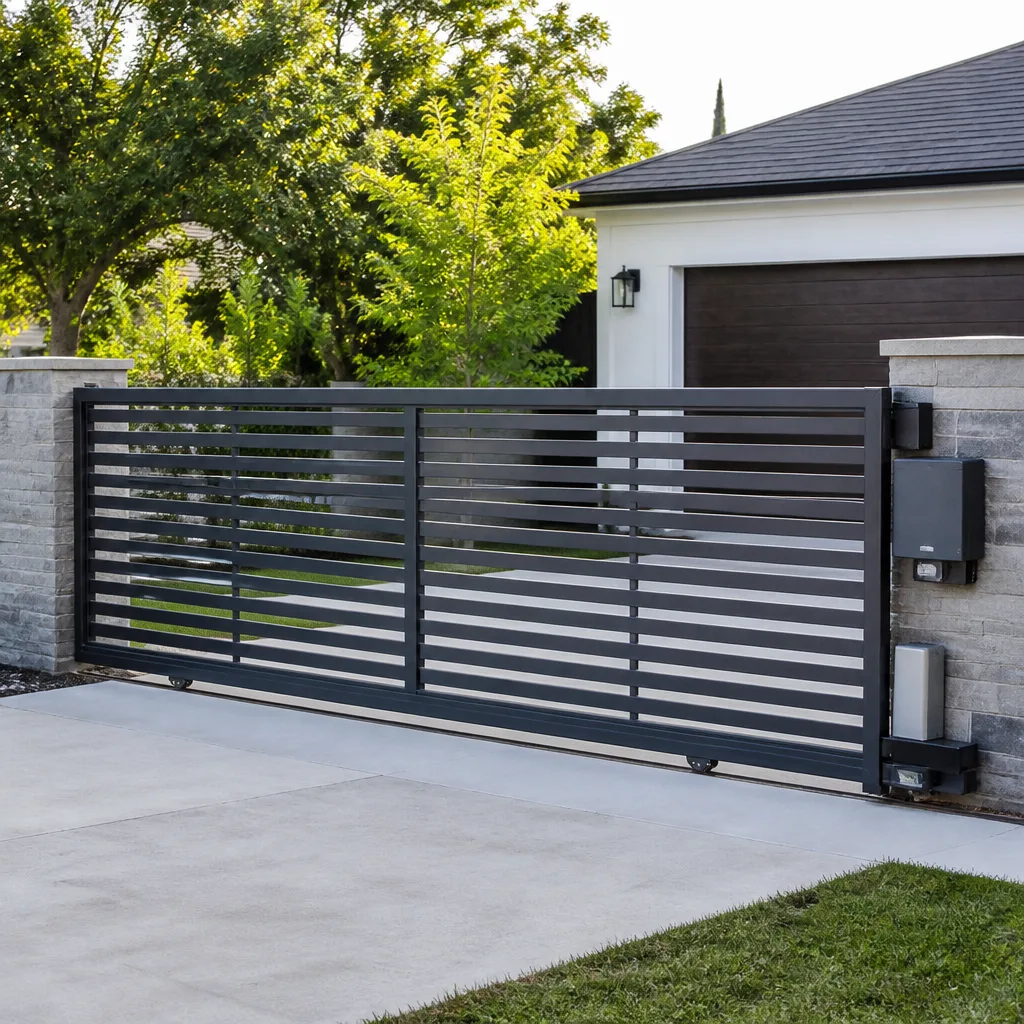
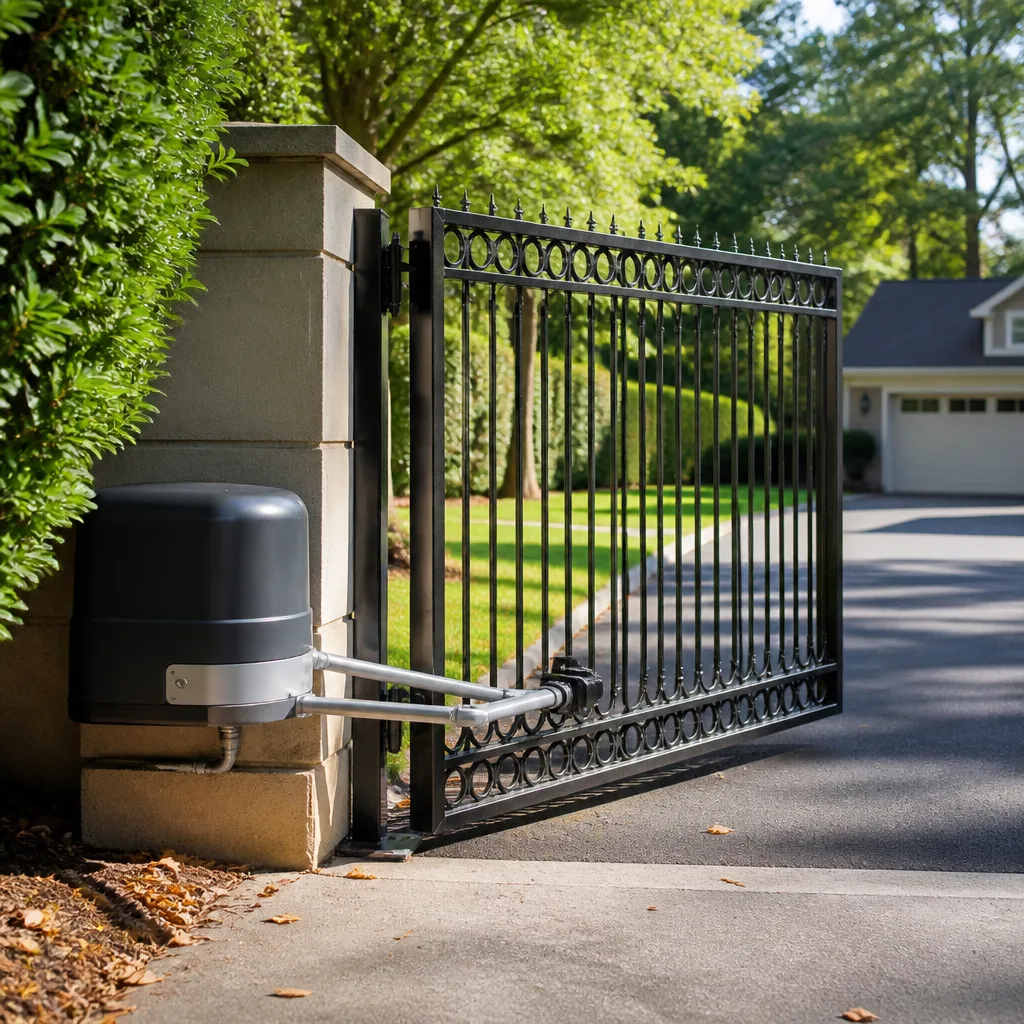
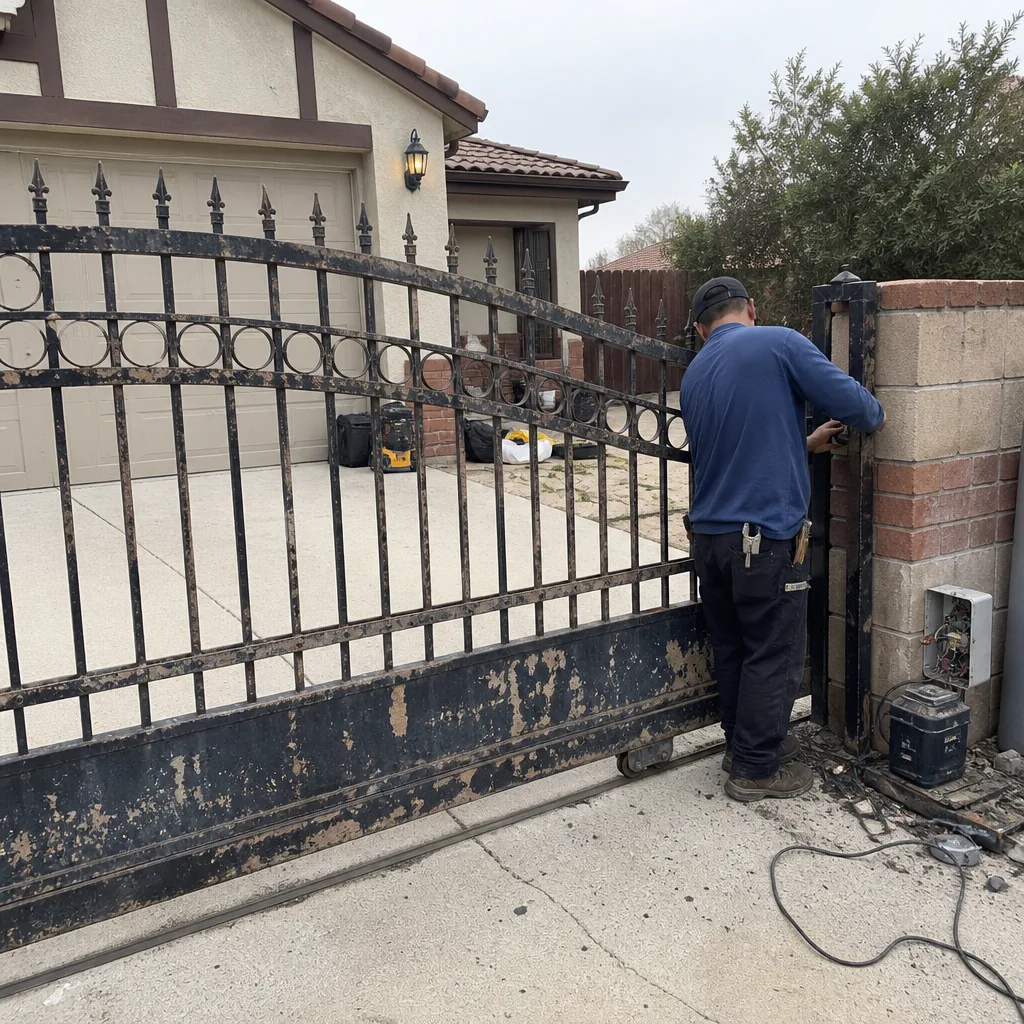 Before
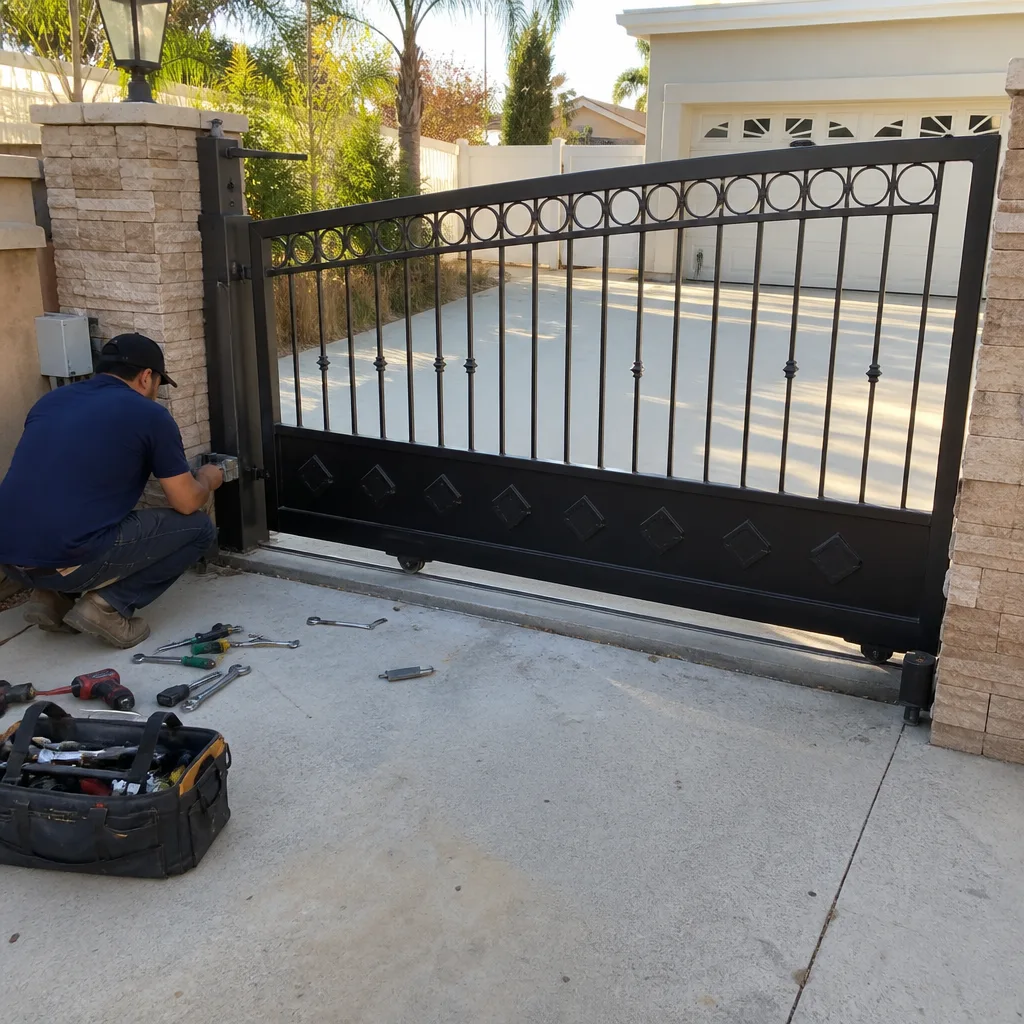 After
After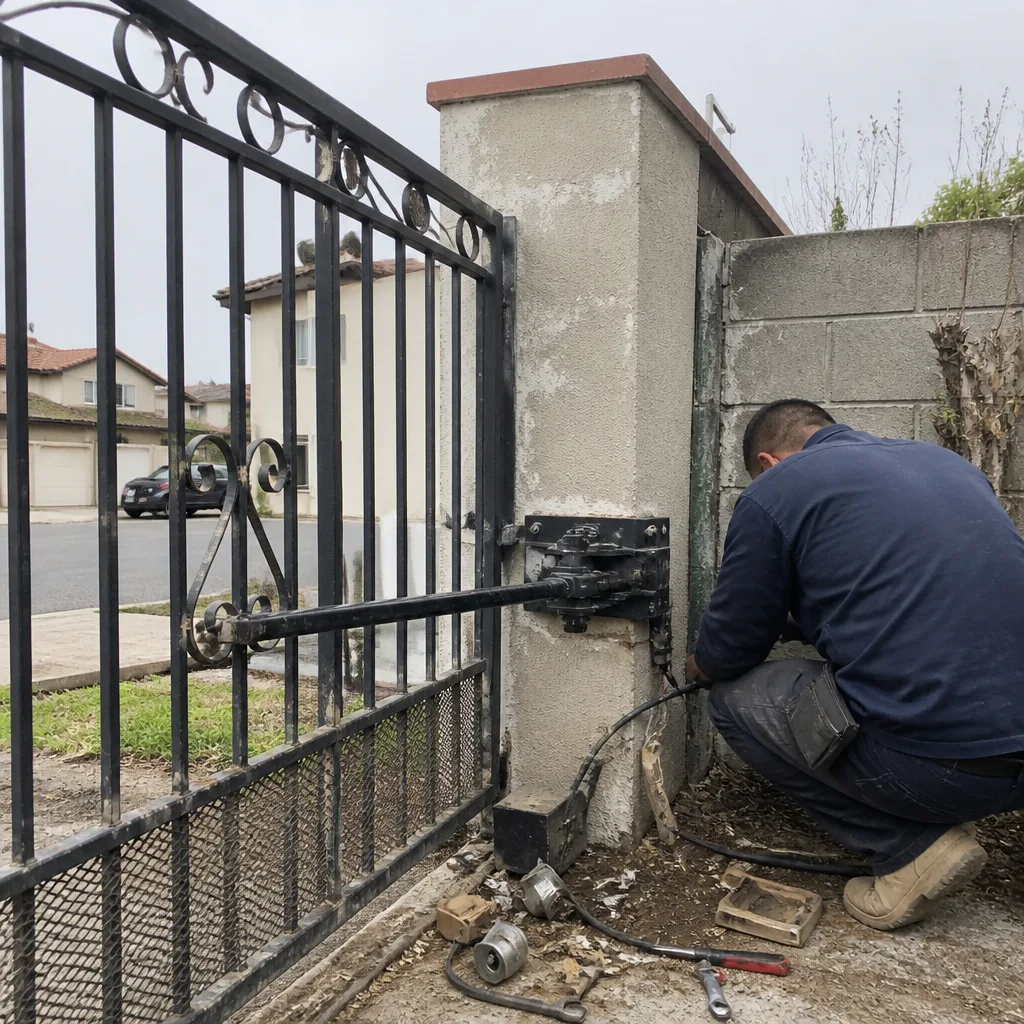 Before
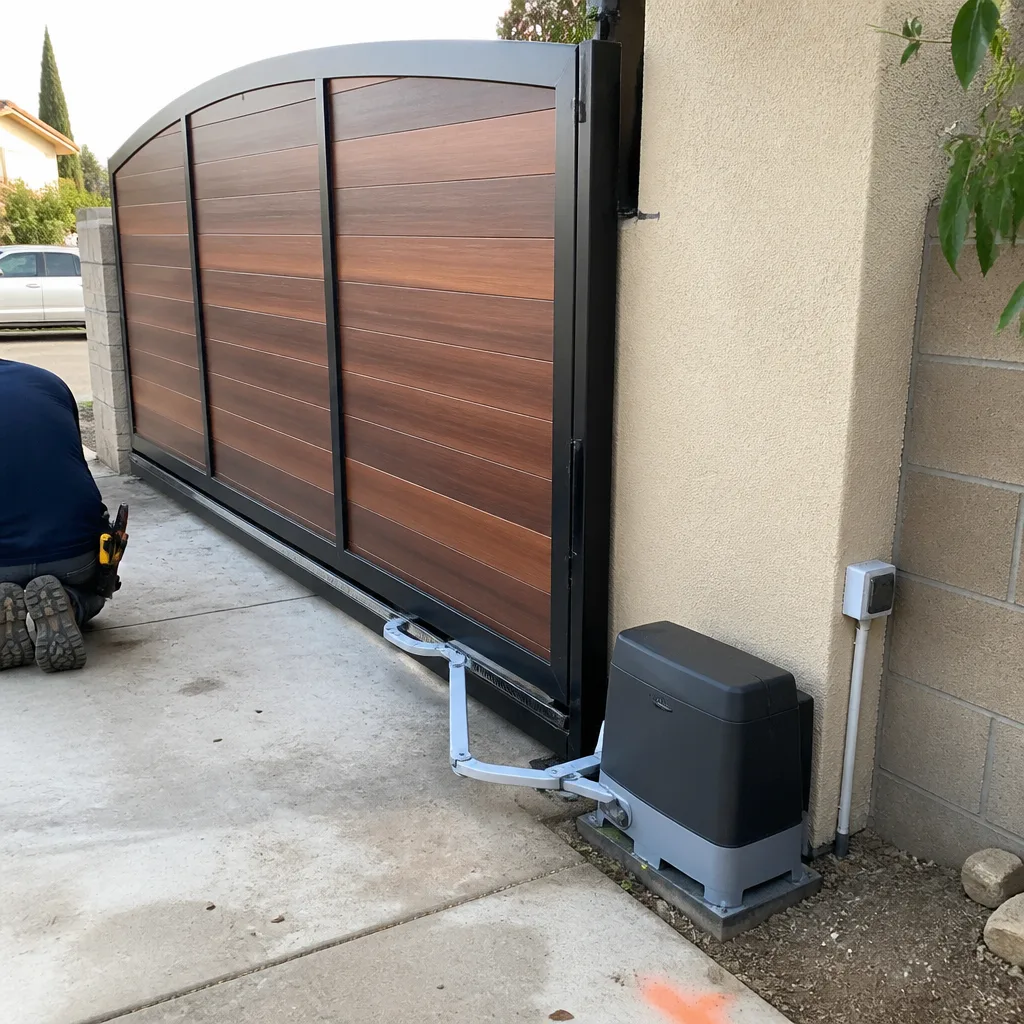 After
After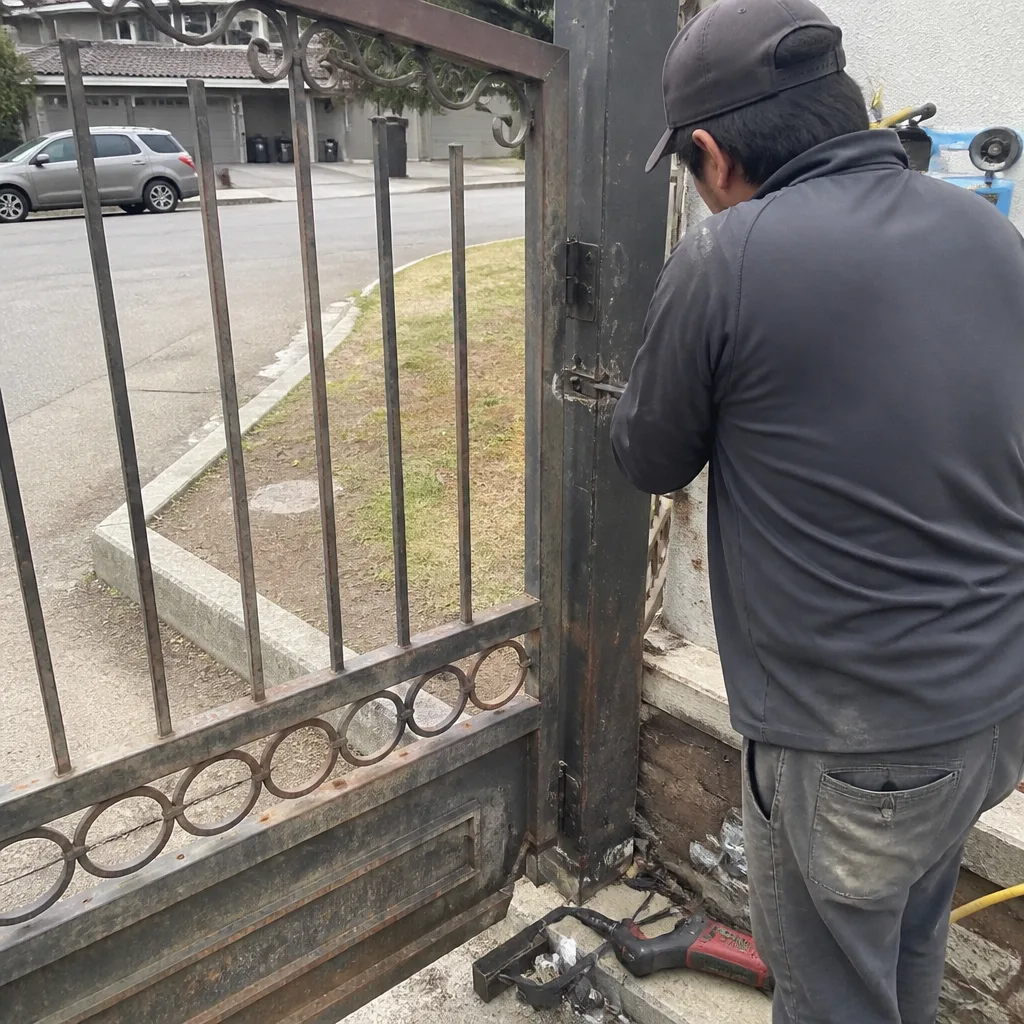 Before
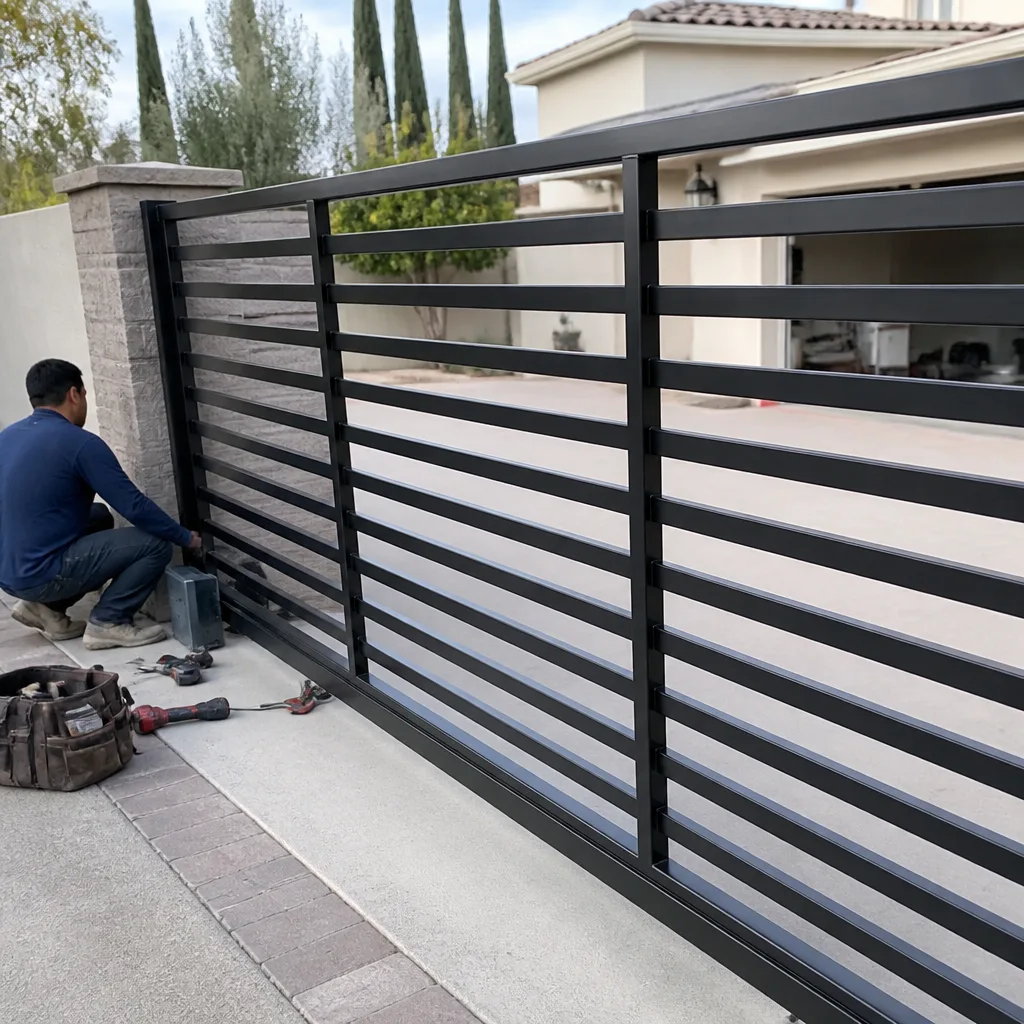 After
AfterLiftMaster Welding & Fabrication: The Rancho Cucamonga Owner’s Guide
If the bracket, hinge, arm, or mounting plate on your LiftMaster gate has cracked, torn, or pulled free, welding and fabrication typically runs $185-$460 in Rancho Cucamonga depending on whether we repair in place or need to remove, jig, and remount the part. We stock the common LiftMaster-compatible repair plates and have a fabricator who handles reinforcement jobs same week, not next month. Most homeowners discover the failure after hearing a new grind or seeing the gate sag half an inch at the latch side while the operator still runs fine.
Here’s the pattern we see in Rancho Cucamonga: the LiftMaster motor keeps cycling because its limit switches are fine, but the steel has fatigued where the arm connects to the gate leaf. The part that failed isn’t inside the operator. It’s the metal bolted to it. That’s the difference between an operator problem and a fabrication problem, and it’s the first thing Adrian Vance checks on a service call because the symptoms look almost identical.
Which LiftMaster Models This Applies To
Most of the weld failures we document happen on LiftMaster swing-gate arms and slide-gate chain brackets across the LA400, LA500, SL3000, and CSL24 series, plus the residential RSW12 models. The specific fabricated part that fails first is usually the gate bracket: the steel tab that bolts to the gate frame and accepts the operator arm. On Rancho Cucamonga gates with decorative powder-coated steel, that tab is sometimes welded from thinner stock than the rest of the frame and fails right at the heat-affected zone.
To identify your part correctly, find the silver sticker on the operator chassis, then look at the bracket itself. LiftMaster OEM brackets are typically 1/4-inch plate with two or four bolt holes. Quality aftermarket equivalents exist, but the gotcha is hole spacing. A bracket drilled for an LA400 will not center on an SL3000 arm without slotting, and slotting weakens the plate. We carry both OEM and aftermarket stock, and we’ll show you which one matches your measured hole centers before anything gets cut or welded.
One more thing worth knowing: Rancho Cucamonga’s hard water and summer heat put extra stress on galvanized and powder-coated steel. If your gate faces south and has taken a decade of direct sun, the powder coat hides hairline cracks until the metal separates. We find these with a dye penetrant check on every weld-out, not just a visual once-over.
Signs Your LiftMaster Welding & Fabrication Is Failing
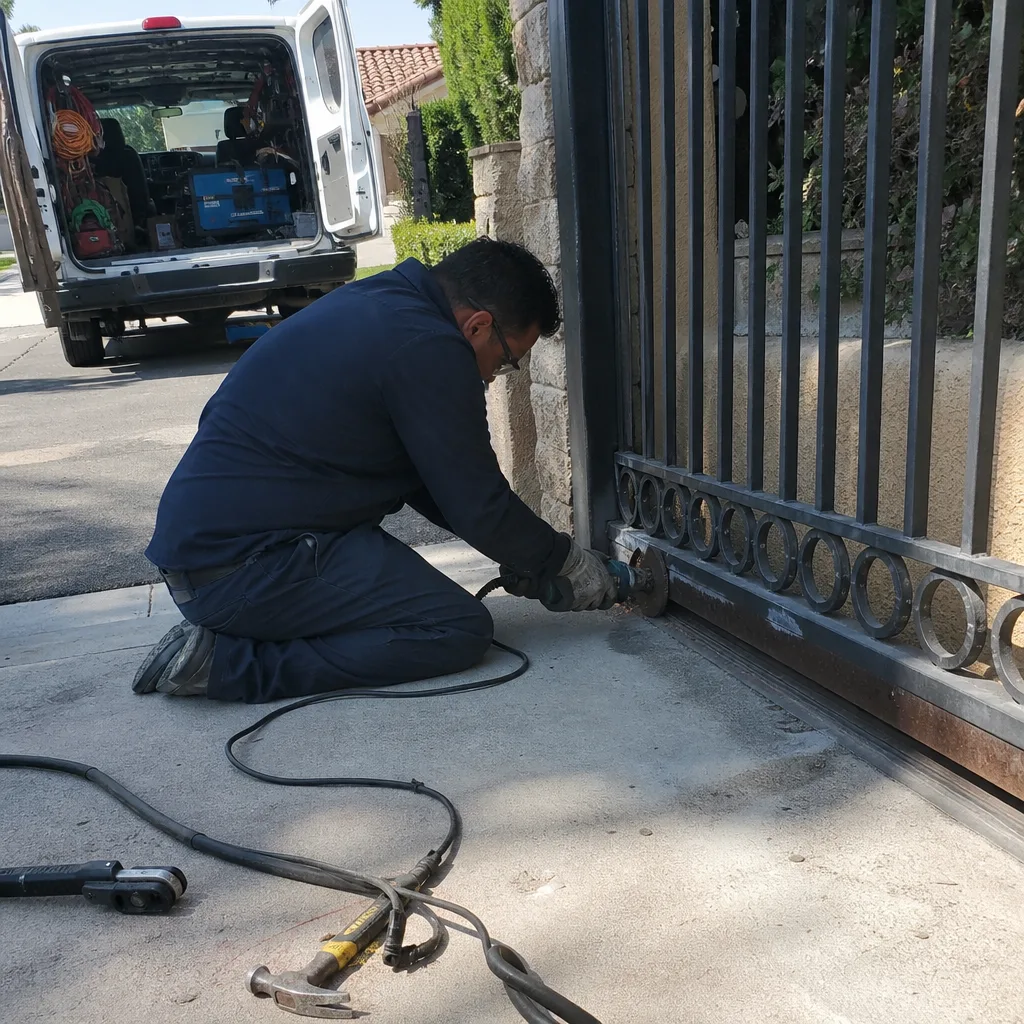
- A new metallic grind during travel. The operator arm has shifted because its mounting plate is flexing, and the arm now rubs the gate frame. The motor is working harder to overcome friction it wasn’t designed for.
- The gate sags at the latch side but the hinges are tight. When the middle weld fails, the gate leaf drops slightly. If you lift the latch end and feel play before the hinges move, the frame or bracket has separated.
- The arm pulls away from the gate at the connection point. This is the classic fatigue failure. The bolt holes look fine, but the plate behind them has torn in a crescent shape around the weld line.
- Powder coat flaking in a straight line or right angle. Paint doesn’t flake in straight lines unless metal is moving underneath it. A clean horizontal crack line is a fracture, not weathering.
- The operator runs fine but the gate stops short or overtravels. The limit switch reads motor revolutions, not gate position. If the gate physically moved because metal stretched or shifted, the limits are now wrong and the motor doesn’t know it.
BeforeAfterReplacement Cost & What’s Included
Here’s what we charge in Rancho Cucamonga, in writing, before any work starts:
- In-place bracket or hinge repair: $185-$280, including grinding, weld prep, reinforcement gusset if needed, and cold-galv finish.
- Remove, jig, and remount with alignment: $240-$390 when the part must come off the gate to get a clean weld on both sides.
- Full arm replacement bracket plus fabrication: $320-$460 including new bracket stock, drilling to your operator series, welding, and remount.
- On-truck part cost only: $35-$95 for a LiftMaster-compatible bracket or plate, depending on series and hole pattern.
The range exists because some gates need a simple reinforcement plate welded over a hairline crack, while others need the old bracket cut off, the frame end milled clean, and a new assembly built to match the original geometry. Every quote is a flat written price you approve before we strike the first arc, and the welding work carries our 365-Day Done Right Promise: if it cracks, shifts, or fails within a year, we make it right at no charge.
We never weld on a gate without photographing the finished weld, the reinforcement, and the arm geometry after remount. That’s Haven Standard Clause 4: evidence on every job, and you keep the photo record.
DIY or Call Us?
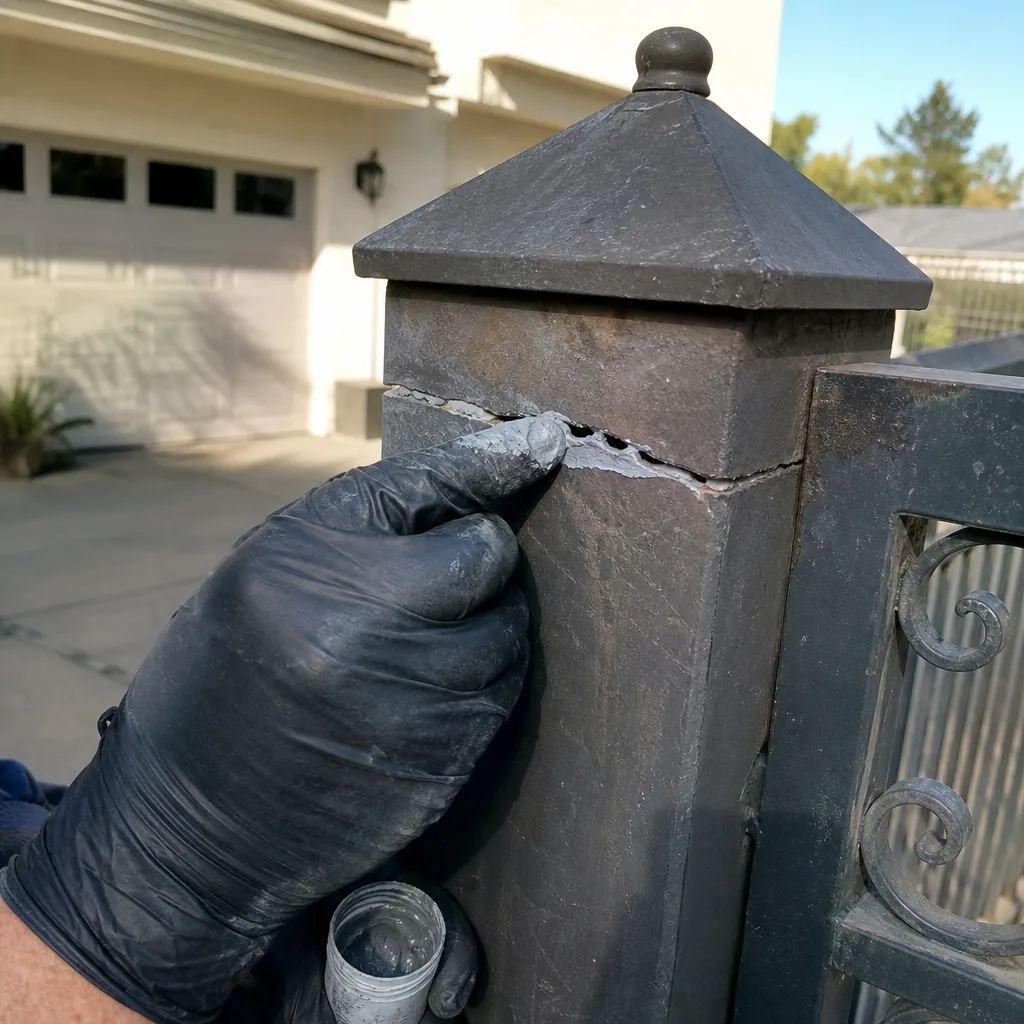
You can safely measure the bracket hole spacing, take photos of the crack, and check whether the gate hinges are tight. That gives us a good start before we arrive. What you shouldn’t do is attempt the weld yourself unless you already own a MIG setup and know how to weld upside down on a mounted gate. A cracked bracket is under tension from the gate’s weight and the operator’s torque. A cold or shallow weld fails worse than the original, and the gate can drop on the operator arm mid-cycle, which turns a $250 bracket repair into a $900 operator replacement.
There’s also an electrical consideration: the operator, the photo-eyes, and the control board are all on the same gate you’d be welding near. We disconnect the motor leads and isolate the board before any arc work. You don’t want induction through the chassis finding your limit switch. If you’re not set up for that, call us at (909) 764-3720. We’ll send a background-checked technician whose name and photo you’ll have before he leaves the shop.
FAQs
A properly welded bracket on a LiftMaster arm should last the life of the gate, which in Rancho Cucamonga’s climate is usually 15 to 25 years for powder-coated steel. Failures before 10 years almost always trace to the original weld’s heat-affected zone, not age. We photograph the fracture so you can see whether it cracked at the weld edge or through the parent metal, and we reinforce accordingly. Call (909) 764-3720 for a free bench assessment if you bring the part in.
About 70% of the brackets we see can be welded in place with a reinforcement gusset, which saves you the labor of removing the gate leaf. If the crack runs through a bolt hole or the plate is warped more than 3/16-inch, replacement is the only honest repair. We’ll show you the dye-penetrant result and let you decide before any work begins.
Most in-place bracket repairs take 60 to 90 minutes: prep, weld, cool, paint, remount, cycle test. A full remove-jig-remount runs about two hours. We carry the common LiftMaster bracket patterns on the truck, so we typically finish the job on the first visit and you get a written record of the part number and the weld settings.
Yes. We keep LiftMaster-type brackets, reinforcement plates, arm clevises, and hinge weld stock on the truck, along with equivalent parts for Mighty Mule, Ghost Controls, and DoorKing gates. If we don’t have your exact hole pattern, we can fabricate it from 1/4-inch plate same day in most cases. Call (909) 764-3720 and we’ll confirm stock before you make the trip.
Name what you found. Name what it costs. Name what you left behind. That’s how we run every LiftMaster welding and fabrication job in Rancho Cucamonga.
If your gate has a cracked bracket, a torn arm mount, or a hinge that’s pulling loose, call (909) 764-3720. We’ll give you a written price before any work starts, a photo log when the job is done, and a one-year guarantee on the weld.
Written by Adrian Vance, Owner, Vance Gate Repair Rancho Cucamonga at Vance Gate Repair Rancho Cucamonga, serving Rancho Cucamonga and nearby areas.